A Full AWS Rails Stack Provision and Deployment with the Rubber Gem
It'd been some time since I'd set up a full Rails stack and deployment process on Amazon Web Services. I thought it would be worth trying out rubber from scratch to provision a full {Nginx, Passenger, PostgreSQL} stack on a single AWS host, with as much automation as possible, but without prematurely resorting to the cognitive-overhead of Chef/OpsWorks. This is my attempt to document the process, as I ran into a few roadblocks along the way.
The RailsCast on rubber is a great place to start, as it gives a good overview/refresher on some of the primitive pieces such as setting up EC2 key-pairs and so on. This post is written under the assumption it has been watched and understood, but I'll be targeting the complete_passenger_nginx_postgresql template rather than complete_passenger_postgresql, which the episode uses. The various other rubber templates are all available in its repo.
Creating And Deploying 'bloggy'
I started out with a super basic Rails app, unimaginatively named bloggy. The git repository is available here; each commit in the history corresponds to a step along the way. It has a root route which renders a page with the current time and hostname, and a single REST-ful resource: /posts.
(1) Set Up the Basic App
- Create the app:
rails new bloggy -d postgresql - Scaffold a model:
bundle exec rails g scaffold post title:string body:text - Create database and migrate:
bundle exec rake db:create db:migrate - Add a root route and a basic root page
- Add
dotenvfor environment variable management in production - Add the following gems:
capistrano: for deployment automationrubber: for EC2 provisioningpassenger: for the Rails app servertherubyracer: for asset precompilation in production
(2) Configure Rubber
- Vulcanize the desired stack:
vulcanize complete_passenger_nginx_postgresql - Set appropriate versions of
ruby(for me:2.1.2),ruby-buildandpassenger1. - Set basic properties of the app;
app_nameand so on. - Pick an EC2 image size and type compliant with your region. I'm using Ubuntu 14.04 LTS in
us-west-2(Oregon)2. - Enable secure AWS credential storage for
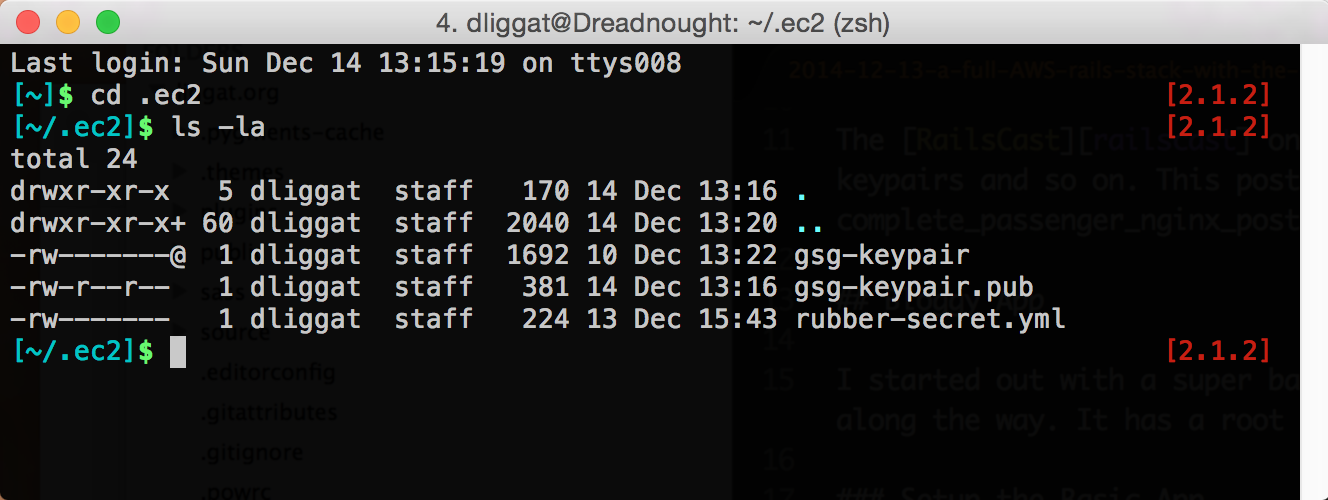
rubberusing~/.ec2/rubber-secret.yml. You do not want to have these credentials in agitrepository, irrespective of whether your repository is private or public (like mine). My EC2 keys and credential file all live in~/.ec2:
(3) Instantiate the EC2 Instance
At this point, we're ready to fire up the EC2 instance:
bundle exec cap rubber:create- Name the single instance
productionand assign it every role within the app:web,app,db:primary=true3. - Enter your local admin password when prompted – so
rubbercan modify your/etc/hostsfile. - Log into the AWS console => EC2, and ensure the image has been started. Grab the public DNS name of the instance4.
If all has gone well, and the keys were setup correctly ahead of time, it should be possible to ssh to the newly launched instance:
ssh -v -i ~/.ec2/gsg-keypair ubuntu@ec2-54-69-180-182.us-west-2.compute.amazonaws.com
(4) Provision the Environment
With the instance running, we can now instruct rubber to install the relevant packages that are necessary to build the environment. Locally, run bundle exec cap rubber:bootstrap. This can take a while: it installs Linux updates, configures Nginx, builds and installs ruby, etc. This is the core of the annoying, manual, error-prone work that we seek to eliminate with rubber.
Once that completes, the instance is mostly ready to go. After ssh-ing to the instance we can verify that the correct version of ruby is installed, etc:
# ruby --version
ruby 2.1.2p95 (2014-05-08 revision 45877) [x86_64-linux]
(5) Initial Deployment
With the instance ready, we can now use capistrano to deploy. This is where I first ran into issues. After attempting to deploy using bundle exec cap deploy:cold, I received the rubber error output:
** [out :: production.bloggy.com] [ALERT] 347/141816 (2034) :
** [out :: production.bloggy.com] Starting proxy passenger_proxy: cannot bind socket
** [out :: production.bloggy.com]
** [out :: production.bloggy.com]
** [out :: production.bloggy.com]
** [out :: production.bloggy.com] [
** [out :: production.bloggy.com]
** [out :: production.bloggy.com] fail
** [out :: production.bloggy.com]
It turns out we need to delete the default Nginx configuration, which is conflicting with the port (obviously 80) we're attempting to use. After ssh-ing to the instance:
- Delete the default configuration file:
sudo rm /etc/nginx/sites-enabled/default - Restart Nginx:
sudo service nginx restart
Back again locally, attempt to deploy once more: bundle exec cap deploy:cold. It should succeed this time around without the error message we encountered previously.
(6) Accessing the App
With the instance provisioned, we are close to success. However, at this point I got an error page at http://ec2-54-69-180-182.us-west-2.compute.amazonaws.com in the browser. curl gives some insight as to what's going on:
$ curl -i http://ec2-54-69-180-182.us-west-2.compute.amazonaws.com
HTTP/1.1 502 Bad Gateway
Server: nginx/1.6.2
Date: Sun, 14 Dec 2014 22:29:03 GMT
Content-Type: text/html
Content-Length: 1477
Connection: keep-alive
To proceed, we need to take a look at the Nginx logs. After ssh-ing again to our instance, we can tail -f /var/log/nginx/error.log and notice that:
App 2213 stderr: [ 2014-12-14 14:29:03.3709 2275/0x007f5d4ea08798(Worker 1) utils.rb:84 ]: *** Exception RuntimeError in Rack application object (Missing `secret_key_base` for 'production' environment, set this value in `config/secrets.yml`) (process 2275, thread 0x007f5d4ea08798(Worker 1)):
App 2213 stderr:  from /mnt/bloggy-production/shared/bundle/ruby/2.1.0/gems/railties-4.1.7/lib/rails/application.rb:462:in `validate_secret_key_config!'
We need to create an .env file in the Rails app root directory that the dotenv-deployment gem will use to set the missing SECRET_KEY_BASE cryptographic environment variable that is referenced in the app's config/secrets.yml. Locally, create a .env file and copy it to the server:
echo "SECRET_KEY_BASE=`bundle exec rake secret`" > .env
scp -v -i ~/.ec2/gsg-keypair .env ubuntu@ec2-54-69-180-182.us-west-2.compute.amazonaws.com:/home/ubuntu
rm .env
Back on the server, sudo mv /home/ubuntu/.env /mnt/bloggy-production/shared/ to copy the file to the appropriate place. The final repo commit ensures that capistrano will symlink this from the release directory into the shared directory on deployment.
One final deployment should do the trick to get this into the Rails app on production: bundle exec cap deploy. Sure enough:
ubuntu@production:~$ cd /mnt/bloggy-production/current/
ubuntu@production:/mnt/bloggy-production/current$ ls -la .env
lrwxrwxrwx 1 root root 34 Dec 14 14:49 .env -> /mnt/bloggy-production/shared/.env
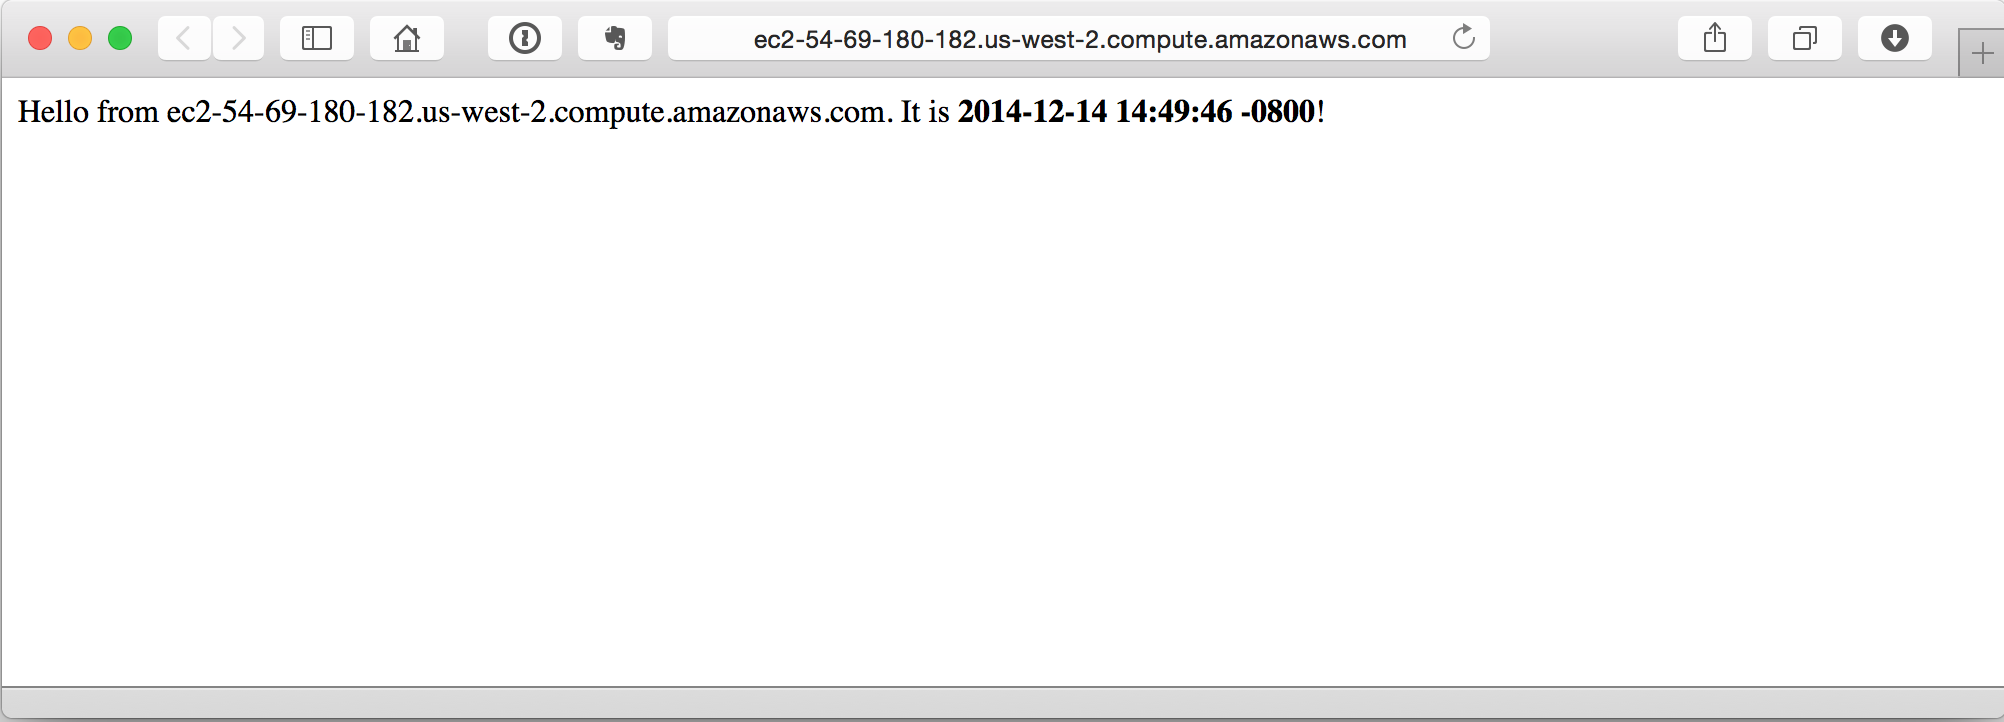
With that in place, we can visit the URL once more:
And there we have it! The full stack {Nginx, Passenger, PostgreSQL} app is now live on the EC2 instance. This process falls slightly short of the ideal of one-click instance provisioning, but it's pretty close5. Going through this additional work seems preferable to me versus Heroku or Elastic Beanstalk - both of which have their place6 to be sure, but ultimately abstract away rather more of these details than I would prefer.
With the basic app deployed with a production-grade full stack using rubber - we can be sure we have a clear, repeatable, configurable path for future vertical and/or horizontal scaling if and when the need should arise.
(7) Teardown
Finally, the deployed instance can be dismantled via bundle exec cap rubber:destroy_all when it's no longer needed, as of course EC2 bills by the hour.
Addendum: Asset Compilation
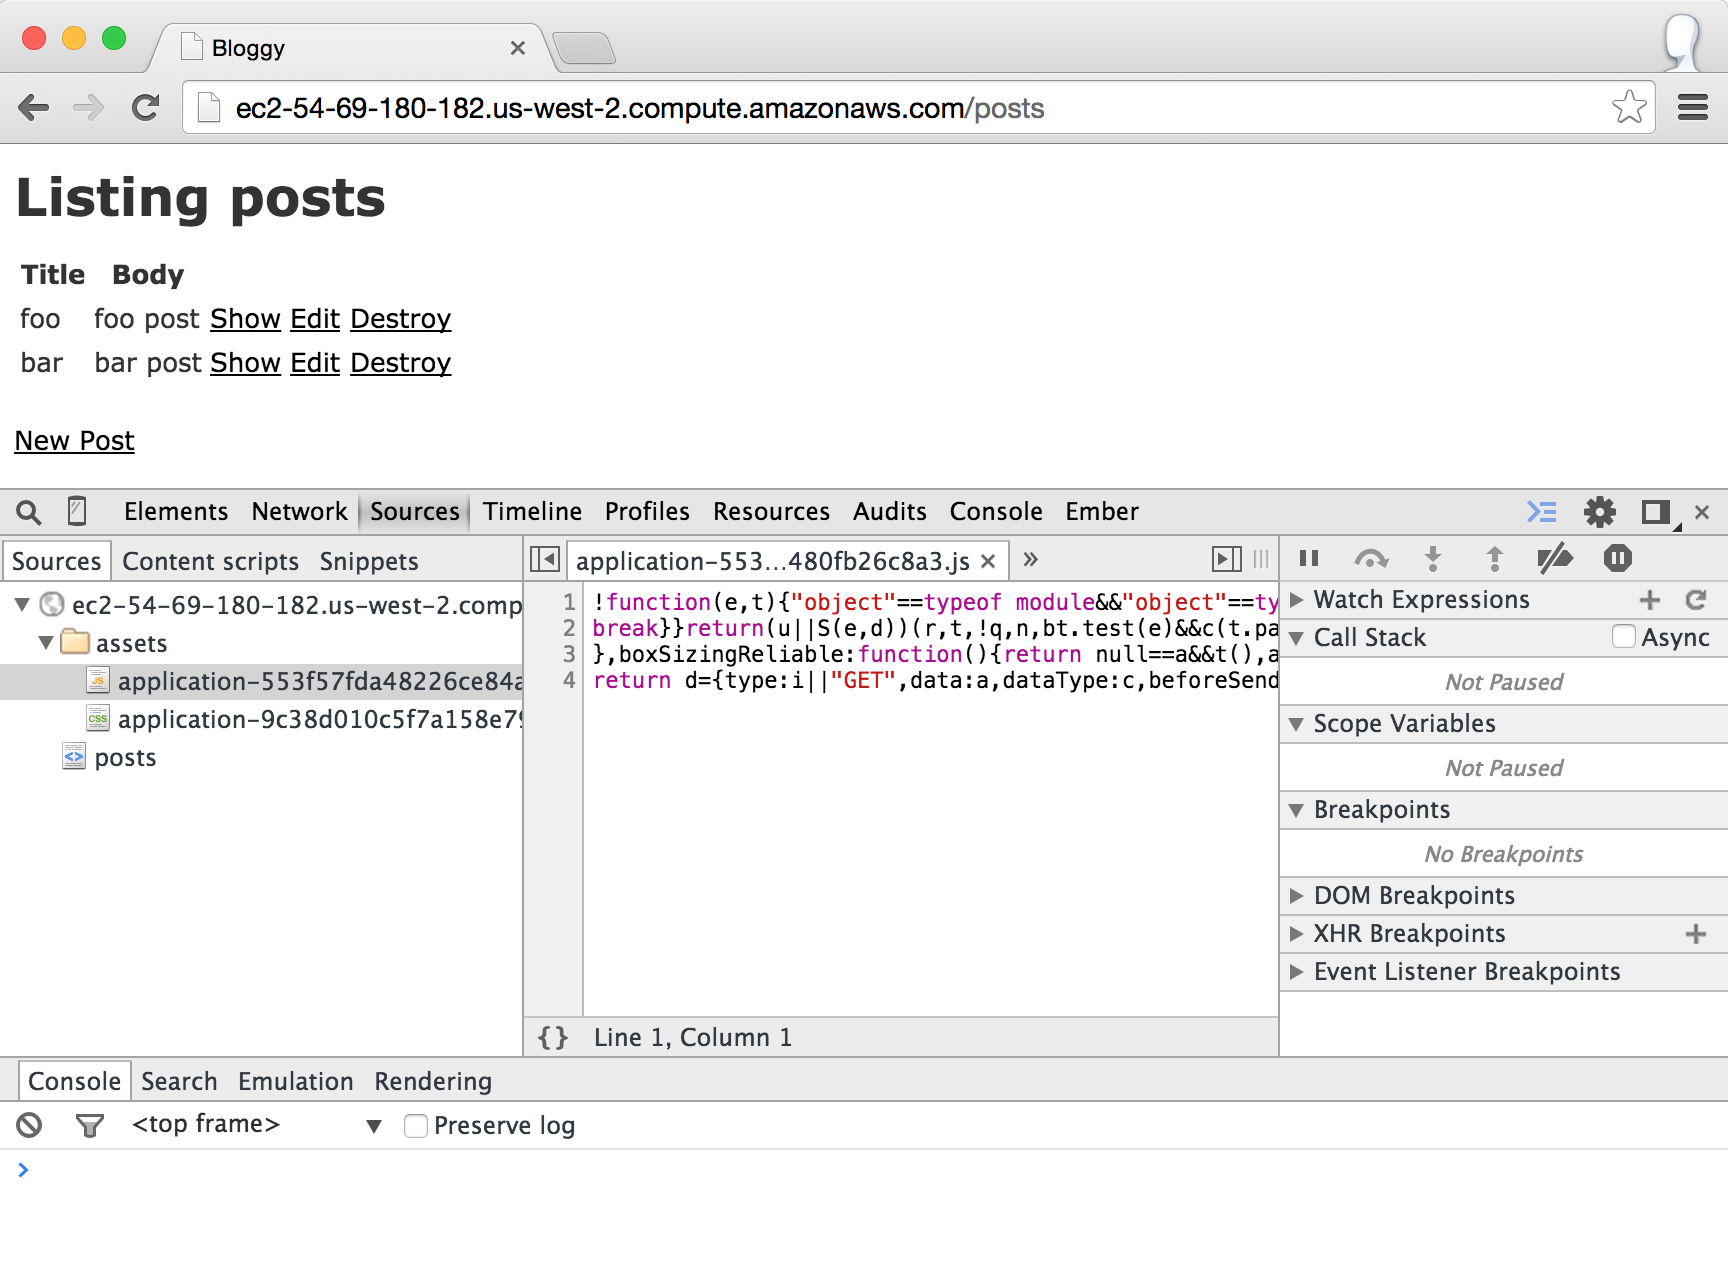
Thanks to the therubyracer gem added earlier, we can observe that the application's JavaScript has indeed undergone precompilation in deployment.
-
There's a fair bit of documentation staleness around these values, so unless you're reading this around December 2014, the world has likely moved onto something newer, and you may get errors as a result. Look for values that will be mutually compliant today, whenever that might be. ↩
-
You can find the various options in the dropdown on the right side of alestic.com. ↩
-
As the app matures, these roles would tend to migrate to separate instances, and possibly leverage other AWS services such as RDS, but for now one instance is adequate for all the roles. ↩
-
rubbermonkeys with your/etc/hostsfile to alias this locally, but I tend to ignore that and just grab it directly from the EC2 console. ↩ -
This could likely be slightly streamlined with some
rubberpull requests, which I hope to create and contribute in the near future. ↩ -
Heroku remains the undisputed master of the get this thing deployed ASAP market in my book ↩


